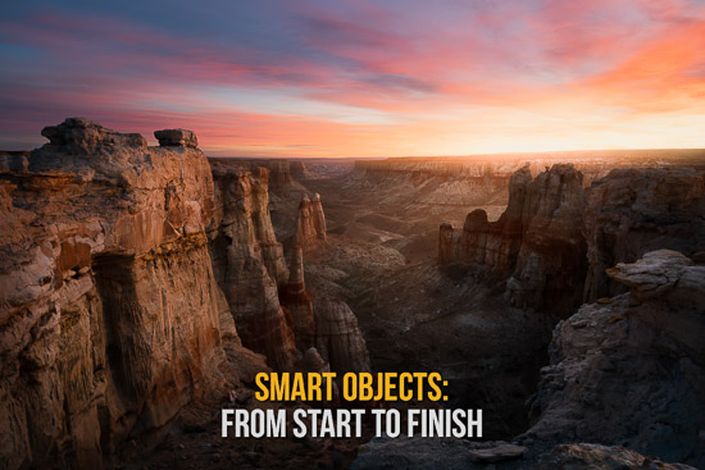
Smart Objects: From Start to Finish
Learn how to fully take advantage of the awesome power of Smart Objects in Photoshop to create gorgeous images with the flexibility of a non-destructive workflow.

Your Instructor

I got hooked on photography back in 2000, when I was living in London for six months, and have been obsessed ever since. These days I call Minneapolis home, but continue to travel the world in search of incredible cityscapes and landscapes.
My goal is not just to create art, but to connect with other photographers to share the vision, tools, and technique behind my work. I don’t believe I’ve ever found a camera that automatically captures the beauty of the world I see, so I use Lightroom, Photoshop, luminosity masking, or HDR for nearly all of my images. These topics can seem intimidating, so my goal is to help make them a bit simpler through tools and tutorials that I share on this site.
Thanks for checking out my work!
Course Curriculum
-
Start[2.1] Learning Objectives for this section
-
Start[2.2] The benefits of "non-destructive" editing (5:15)
-
Start[2.3] Revising smart objects
-
Start[2.4] What are smart objects, technically? (4:40)
-
Start[2.5] Three ways to create smart objects
-
Start[2.6] Filter masks vs Layer masks (3:25)
-
Start[2.7] Independent vs dependent smart objects (4:36)
-
Start[2.8] Copying RAW processing from one smart object to another
-
Start[2.9] How to keep your saved selections when making smart objects (advanced) (4:41)
-
StartQuiz & additional resources (links to more tutorials)